Use Windows Wireless Display to Turn an Old Device into a Secondary Screen
It always feels like there aren't enough monitors for my PC. However, purchasing a new display can be a considerable expense. I have an old Surface 3 sitting around that I rarely use, so why not repurpose it as a secondary screen? But there's a catch: older devices like this Surface 3 only support video output, not input, so I can't connect it directly via a video cable. My next thought was to use a video capture card, which could transfer the PC's screen to the Surface 3 via a USB connection. However, after some research, I found that inexpensive capture cards come with significant lag, while high-quality ones are nearly as costly as a new monitor—hardly worth it. In the end, I opted for the simplest, most affordable solution: using Windows' built-in wireless display feature to transform this old Surface 3 into a secondary screen.
Old Device Configuration
First, we need to install and enable the wireless display feature on the old device. Follow these steps:
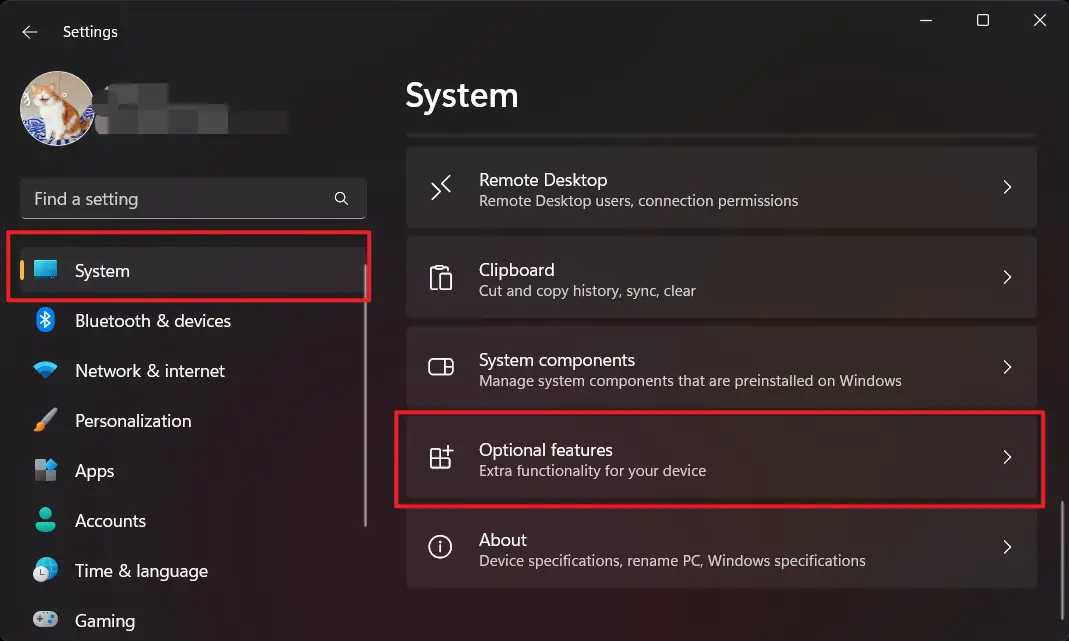
- Open
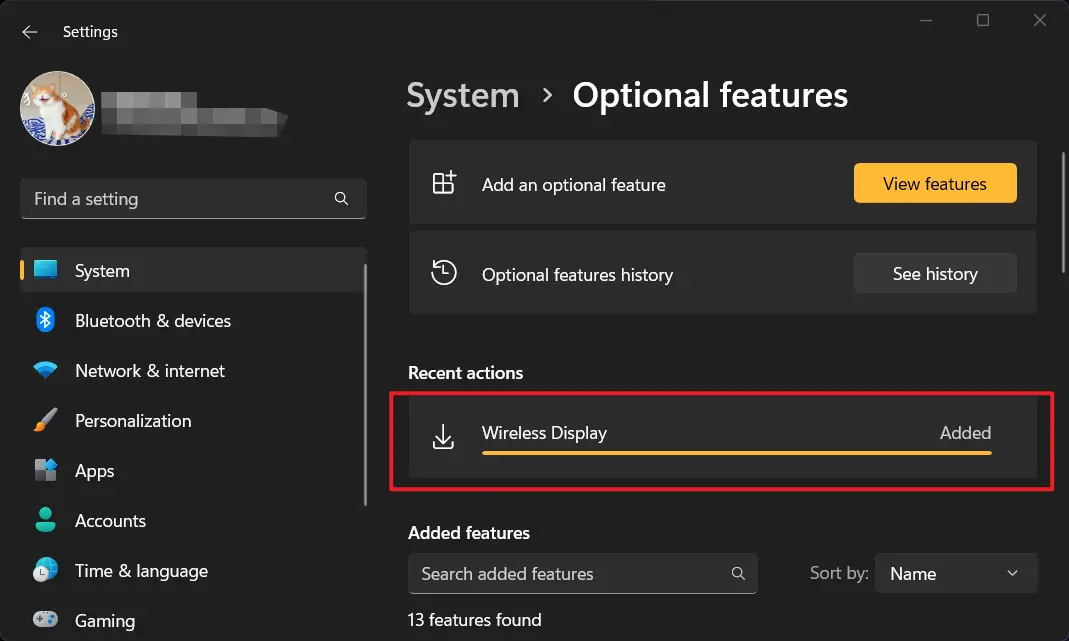
Settings>System. - Go to the bottom and open
Optional features. - Click the
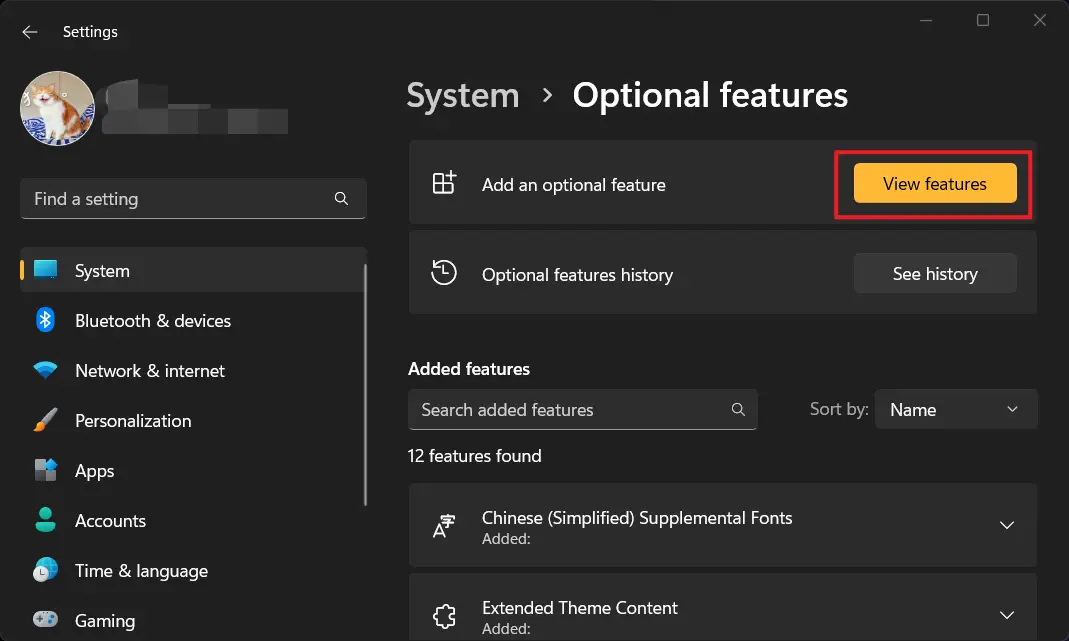
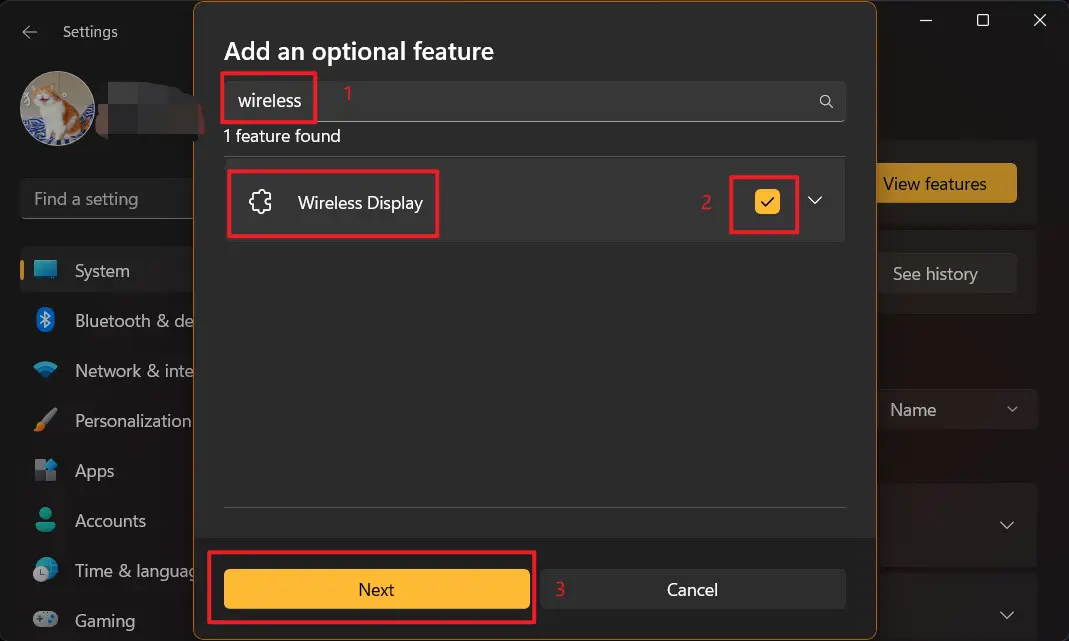
View featuresbutton at the top right. - Search for and select the
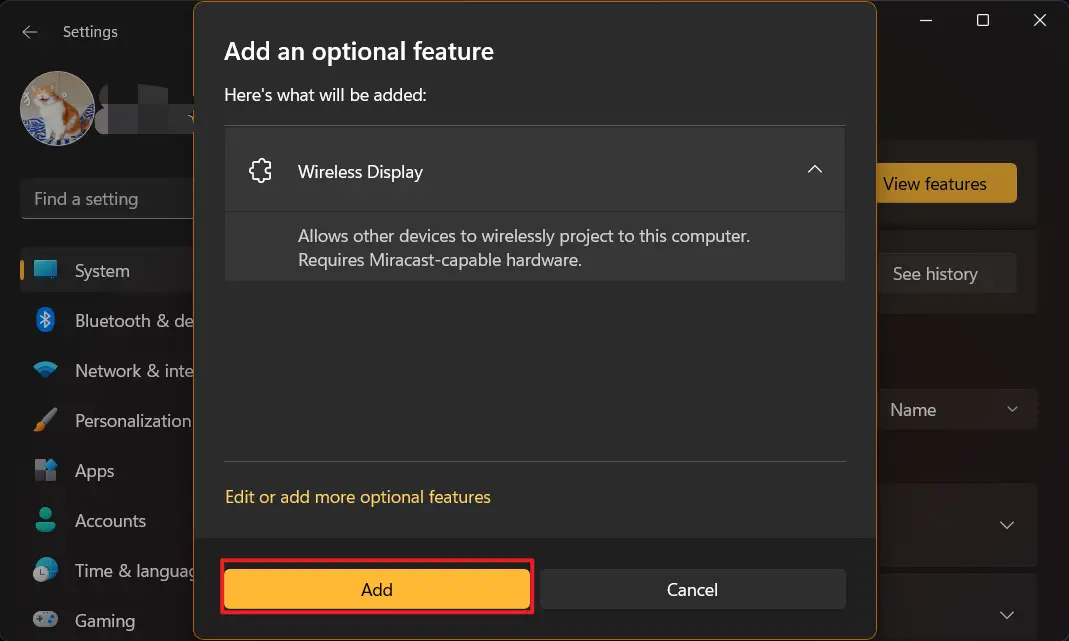
Wireless Displayfeature, then clickNext. - Click
Add. - Wait for the feature to be added—older devices may install this slowly.
- Return to the
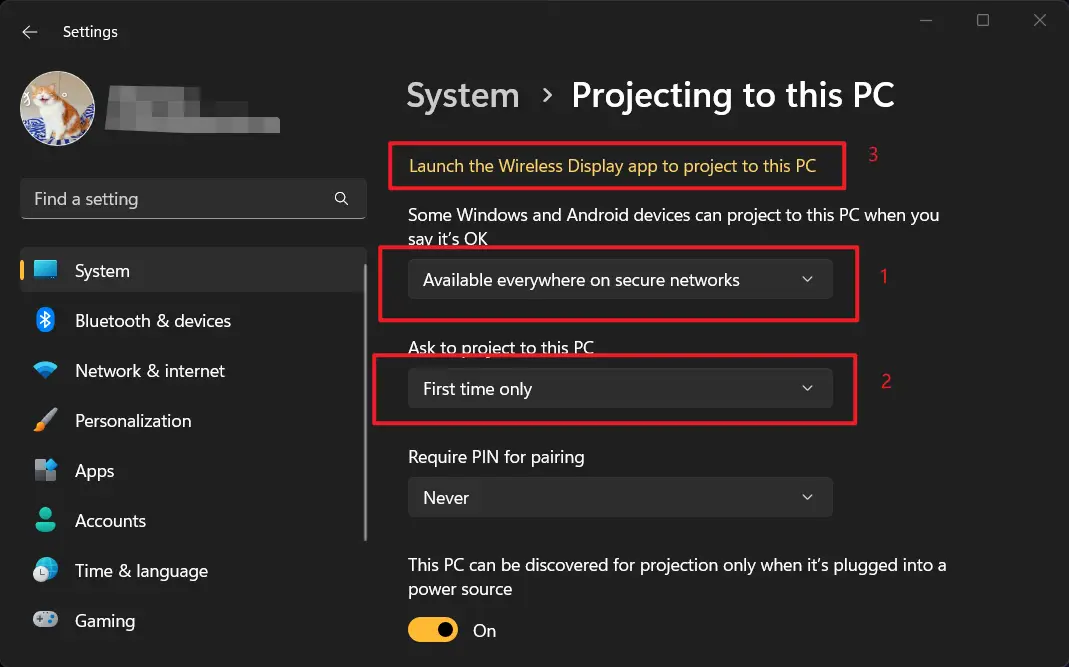
Systempage, and openProjecting to this PC. - Configure the relevant options:
- Set
Some Windows and Android devices can project to this PC when you say it's OKtoAvailable everywhere on secure networks. - Set
Ask to project to this PCtoFirst time only. - Turn off
This PC can be discovered for projection only when it's plugged into a power source, though if the old device has poor battery life, it may be better to keep this on and use it plugged in.
- Set
- Click
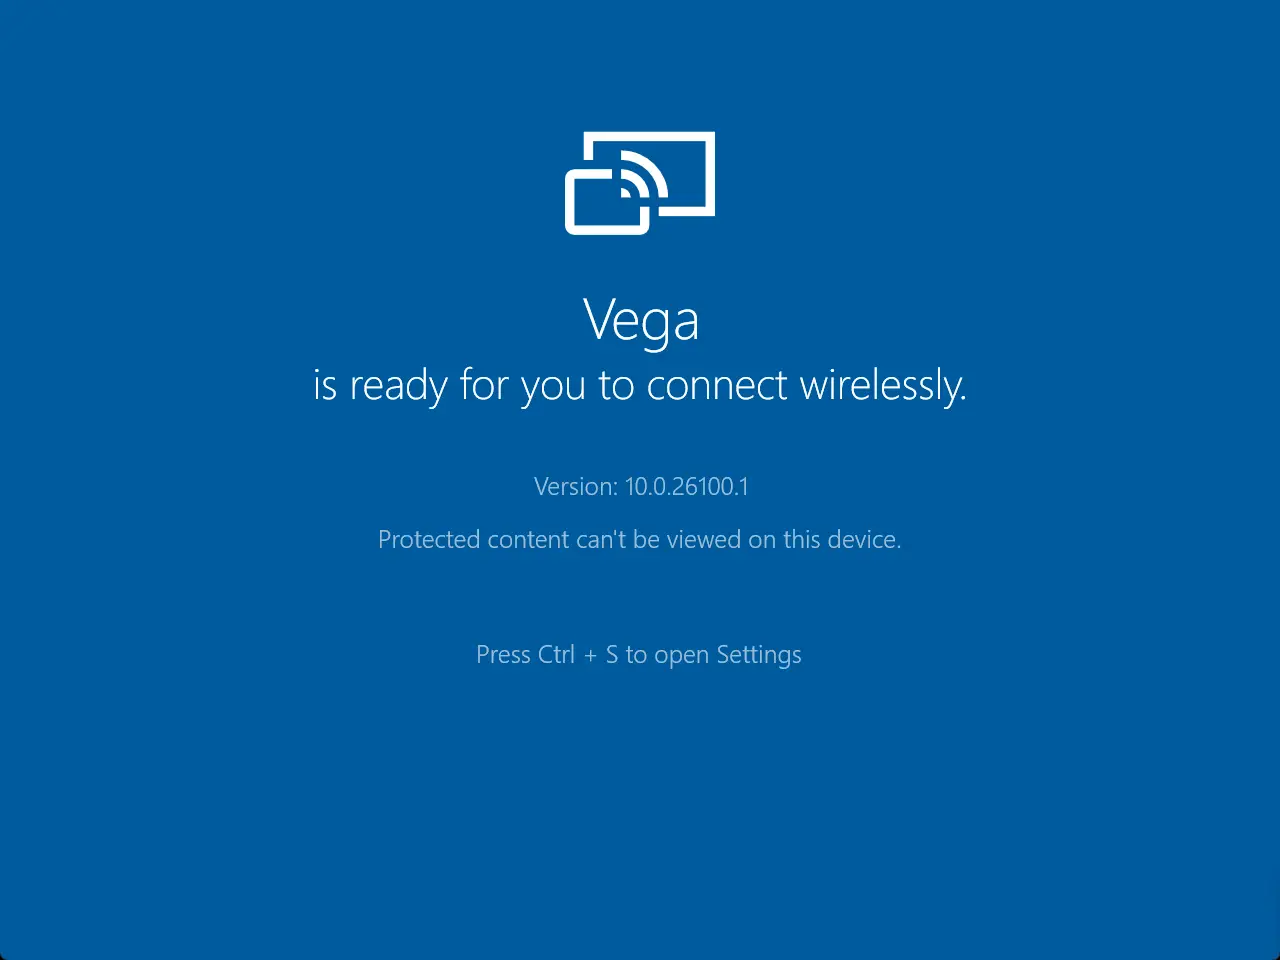
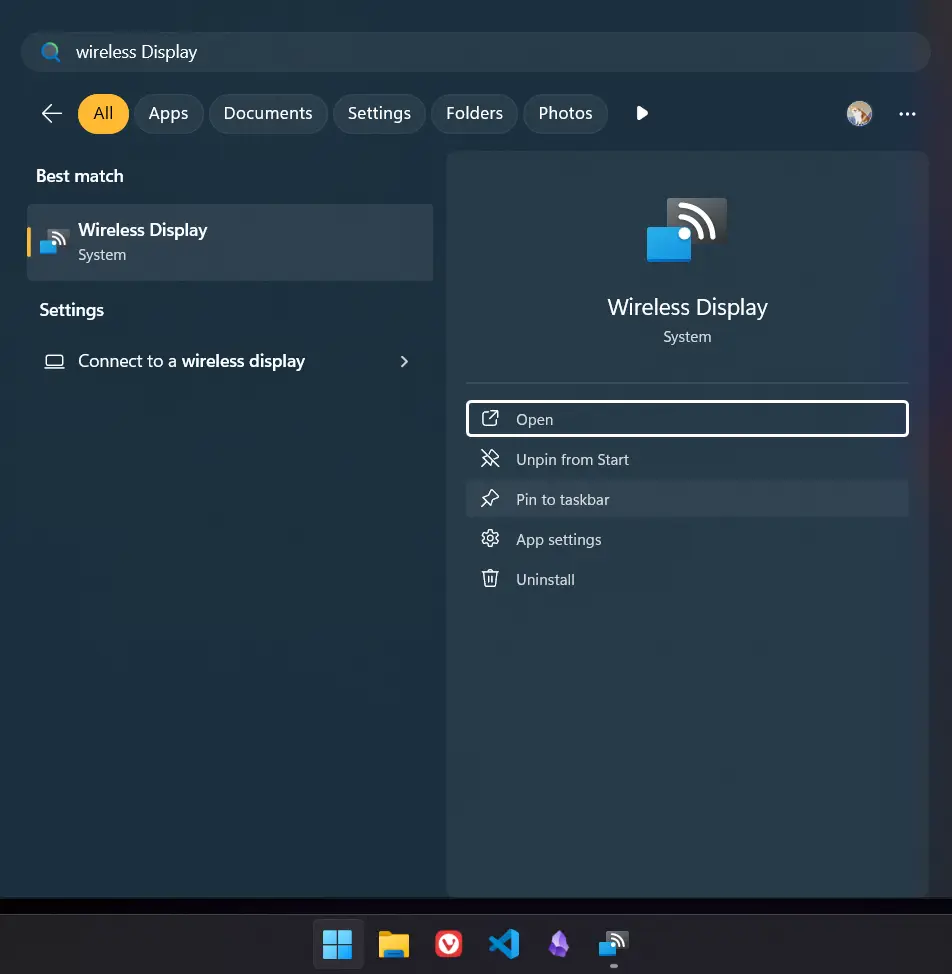
Launch the Wireless Display app to project to this PCat the top. - Optionally, pin the
Wireless Displayapp to the taskbar or Start menu for quick access.

Host Setup
Next, let’s establish a connection with the wireless display on the host device.
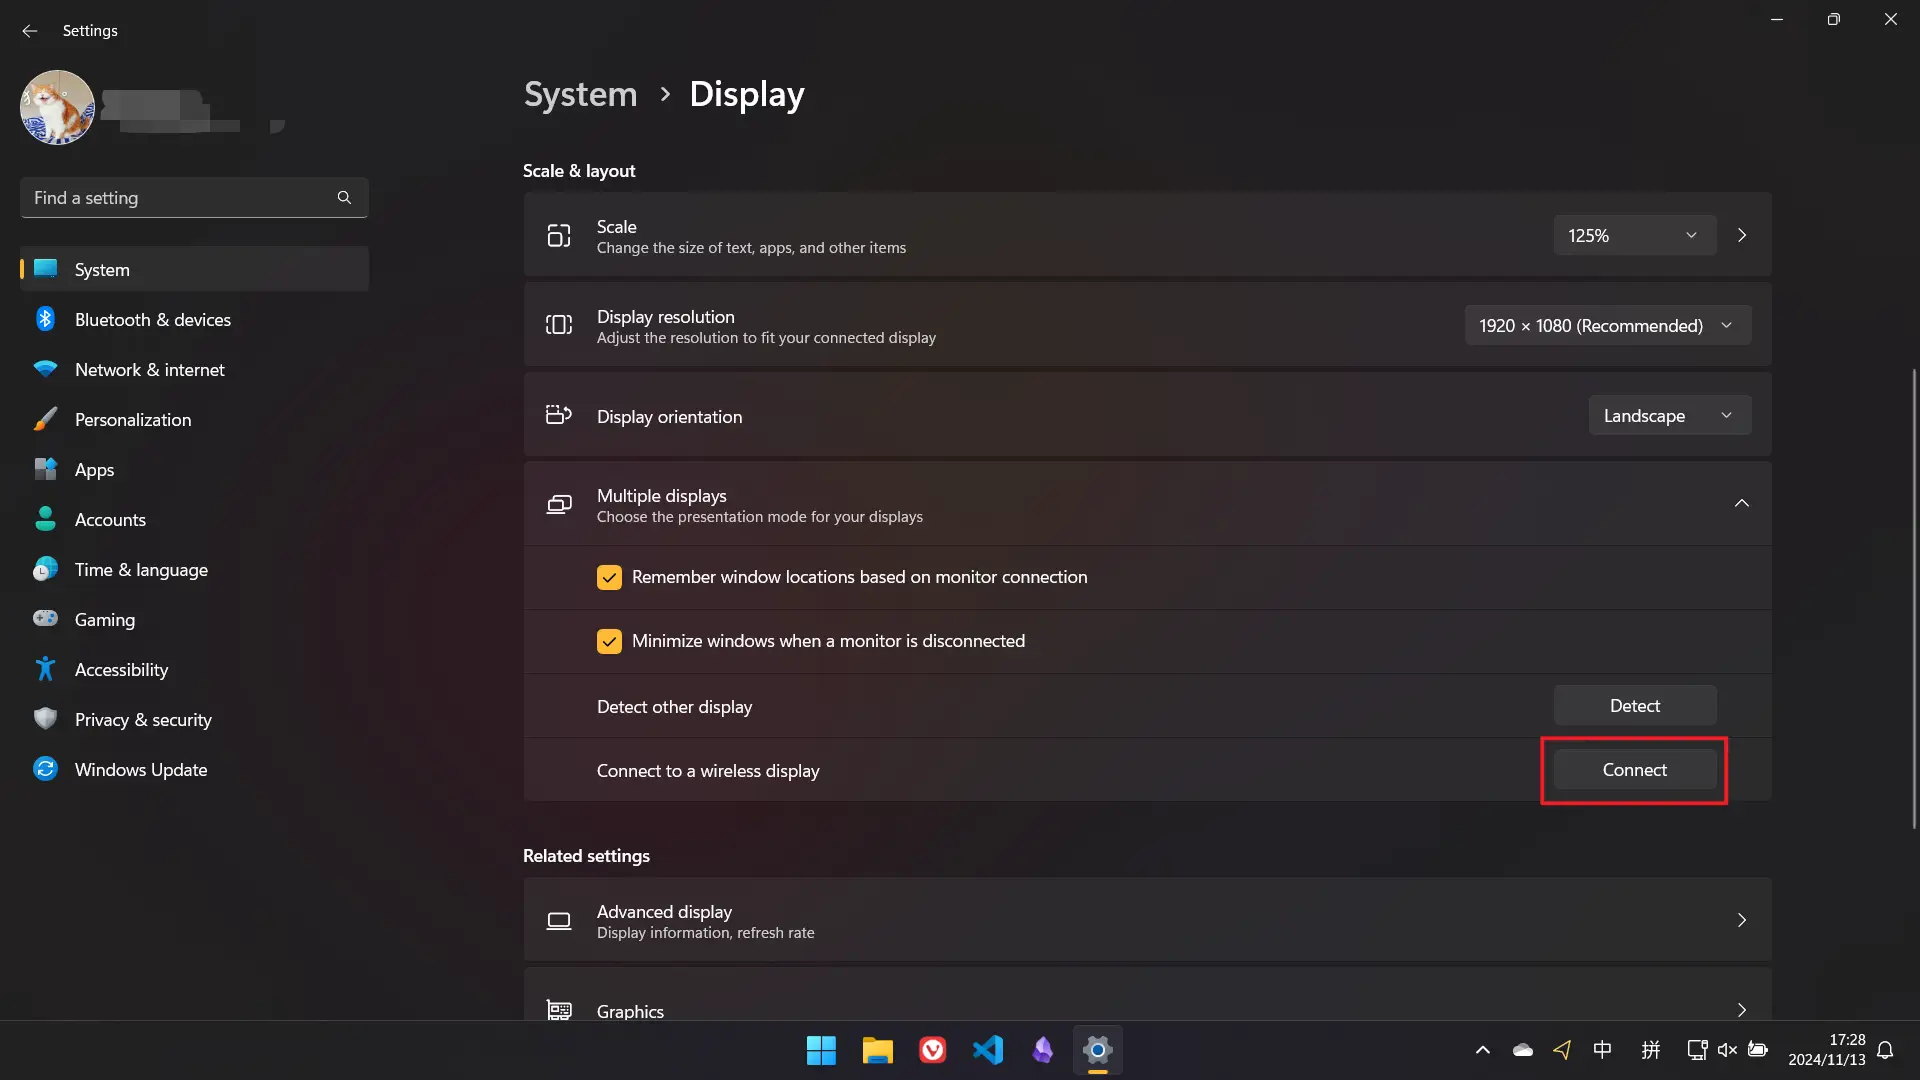
- Open
Settings>System>Display. - Click to expand the
Multiple displaysmenu underScale & layout. - Click the
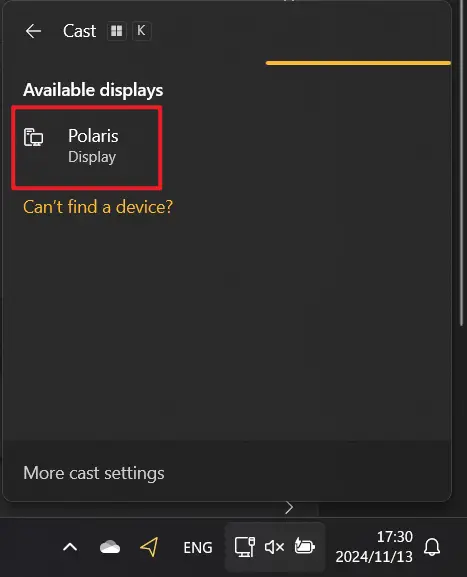
Connectbutton next toConnect to a wireless display. - In the
Castwindow that pops up at the bottom right, select the old device to connect. - Open the Action Center from the bottom right of the taskbar, scroll down using the mouse wheel, find the
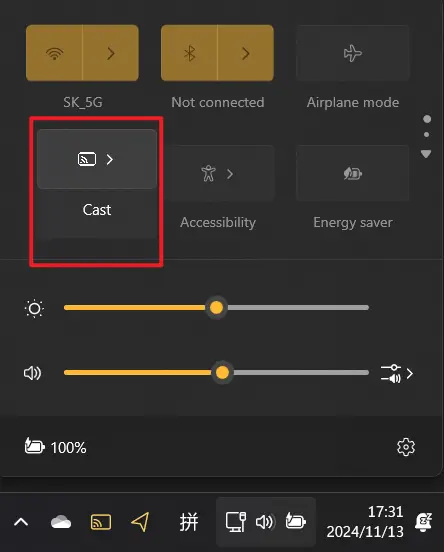
Castbutton, then left-click and hold to drag it to a more convenient location for quicker access in the future. - Click the
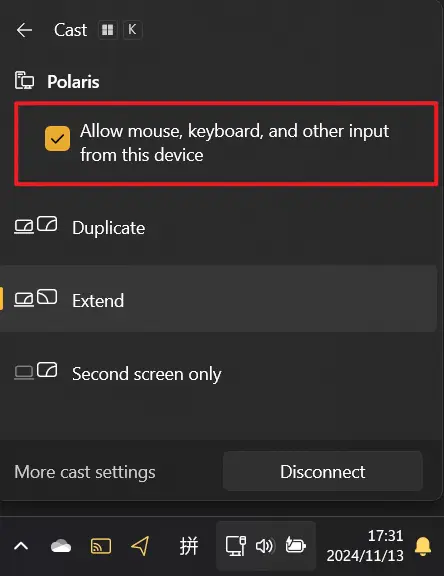
Casticon on the right side of the taskbar, checkAllow mouse, keyboard, and other input from this device, and you’ll be able to use Surface 3’s touch screen and stylus.
Notes
- Each time you connect, make sure to first launch the
Wireless Displayapp on the old device, then use theCastbutton in the Action Center on the host to connect. - The
Castbutton may change toWired Display. - If the wireless display has high latency, check the network card driver on the old device. The driver Microsoft automatically installed on my old Surface 3 had bugs, making even browsing difficult. After I manually installed a newer driver, the internet speed became much faster. I even measured over 100 Mbps bandwidth with a speed test tool in the corner of the room, which is more than enough.
- Try to use a 5GHz Wi-Fi connection to reduce latency.
- My host set the refresh rate to 24Hz for the old Surface 3, and I had to manually adjust it to 60Hz under
Settings>System>Display>Advanced display settings. However, this setting does not persist, and the refresh rate defaults to 24Hz the next time you connect.