Rider R2 5.0 ITX Case Review
After experiencing several fan bearing failures, I developed a psychological aversion to installing FDB fans at the top or bottom of the case. So, whenever I had spare time, I would browse ITX cases on Taobao, intending to switch to a different case. Then, on the second day after Rider R2 5.0 was listed on Taobao, I received a precise recommendation for it. Its power supply placement and other inverted structures were exactly what I had been dreaming of. Without hesitation, I placed an order and replaced my old, stuffy case.

The Rider R2 5.0 is currently priced at 499 yuan with free shipping. The product page offers two color options: black and white. Currently, only the white color is available for purchase, while the black color is expected to be available for sale by the end of the month. Personally, I feel that the white color looks better than the black one.
Update: I procrastinated for several days while writing the review, and as a result, the white color has also sold out. The next batch is expected to be available for sale in April.
Packaging
The courier packaging is a simple corrugated cardboard box, with “Rider R2” printed on the box. Upon opening, there is a bag containing screw accessories, including the case feet, which are not pre-installed. It’s worth mentioning that the accessory bag also includes locking screws for fan installation, which is commendable. The main body of the case is wrapped in a white bag, with foam padding on the top and bottom for shock absorption.
Hardware Compatibility
- The case has a volume of approximately 8.5 liters, with dimensions of 206mm length * 149mm width * 278mm height, and weighs 2 kilograms.
- Supports ITX and DTX motherboards.
- The maximum CPU cooler height supported is 126mm. This height can accommodate downdraft coolers or small tower coolers with 9cm fans. I personally recommend the Thermalright SI100 White Edition for its aesthetics and performance. Due to the inverted motherboard layout, installing small tower coolers like the SS110 will result in about 20% of the cooler being obstructed by the white border of the tempered glass, compromising aesthetics.
- Graphics card size is limited to 196mm * 130mm * 46mm. If the width of the graphics card is less than 122mm, it can extend into a 6mm-long cavity in the front panel. In this case, the maximum supported graphics card size is 202mm * 122mm * 42mm. Considering the bending of the graphics card power cables, it’s not recommended to use excessively large graphics cards. For example, the Colorful 4060Ti Mini is very close to the maximum supported graphics card size of the case, but it boasts excellent aesthetics.
- The front panel supports installation of a 12cm thick fan, with a maximum thickness of 28mm.
- Two 8025 fans can be installed at the rear.
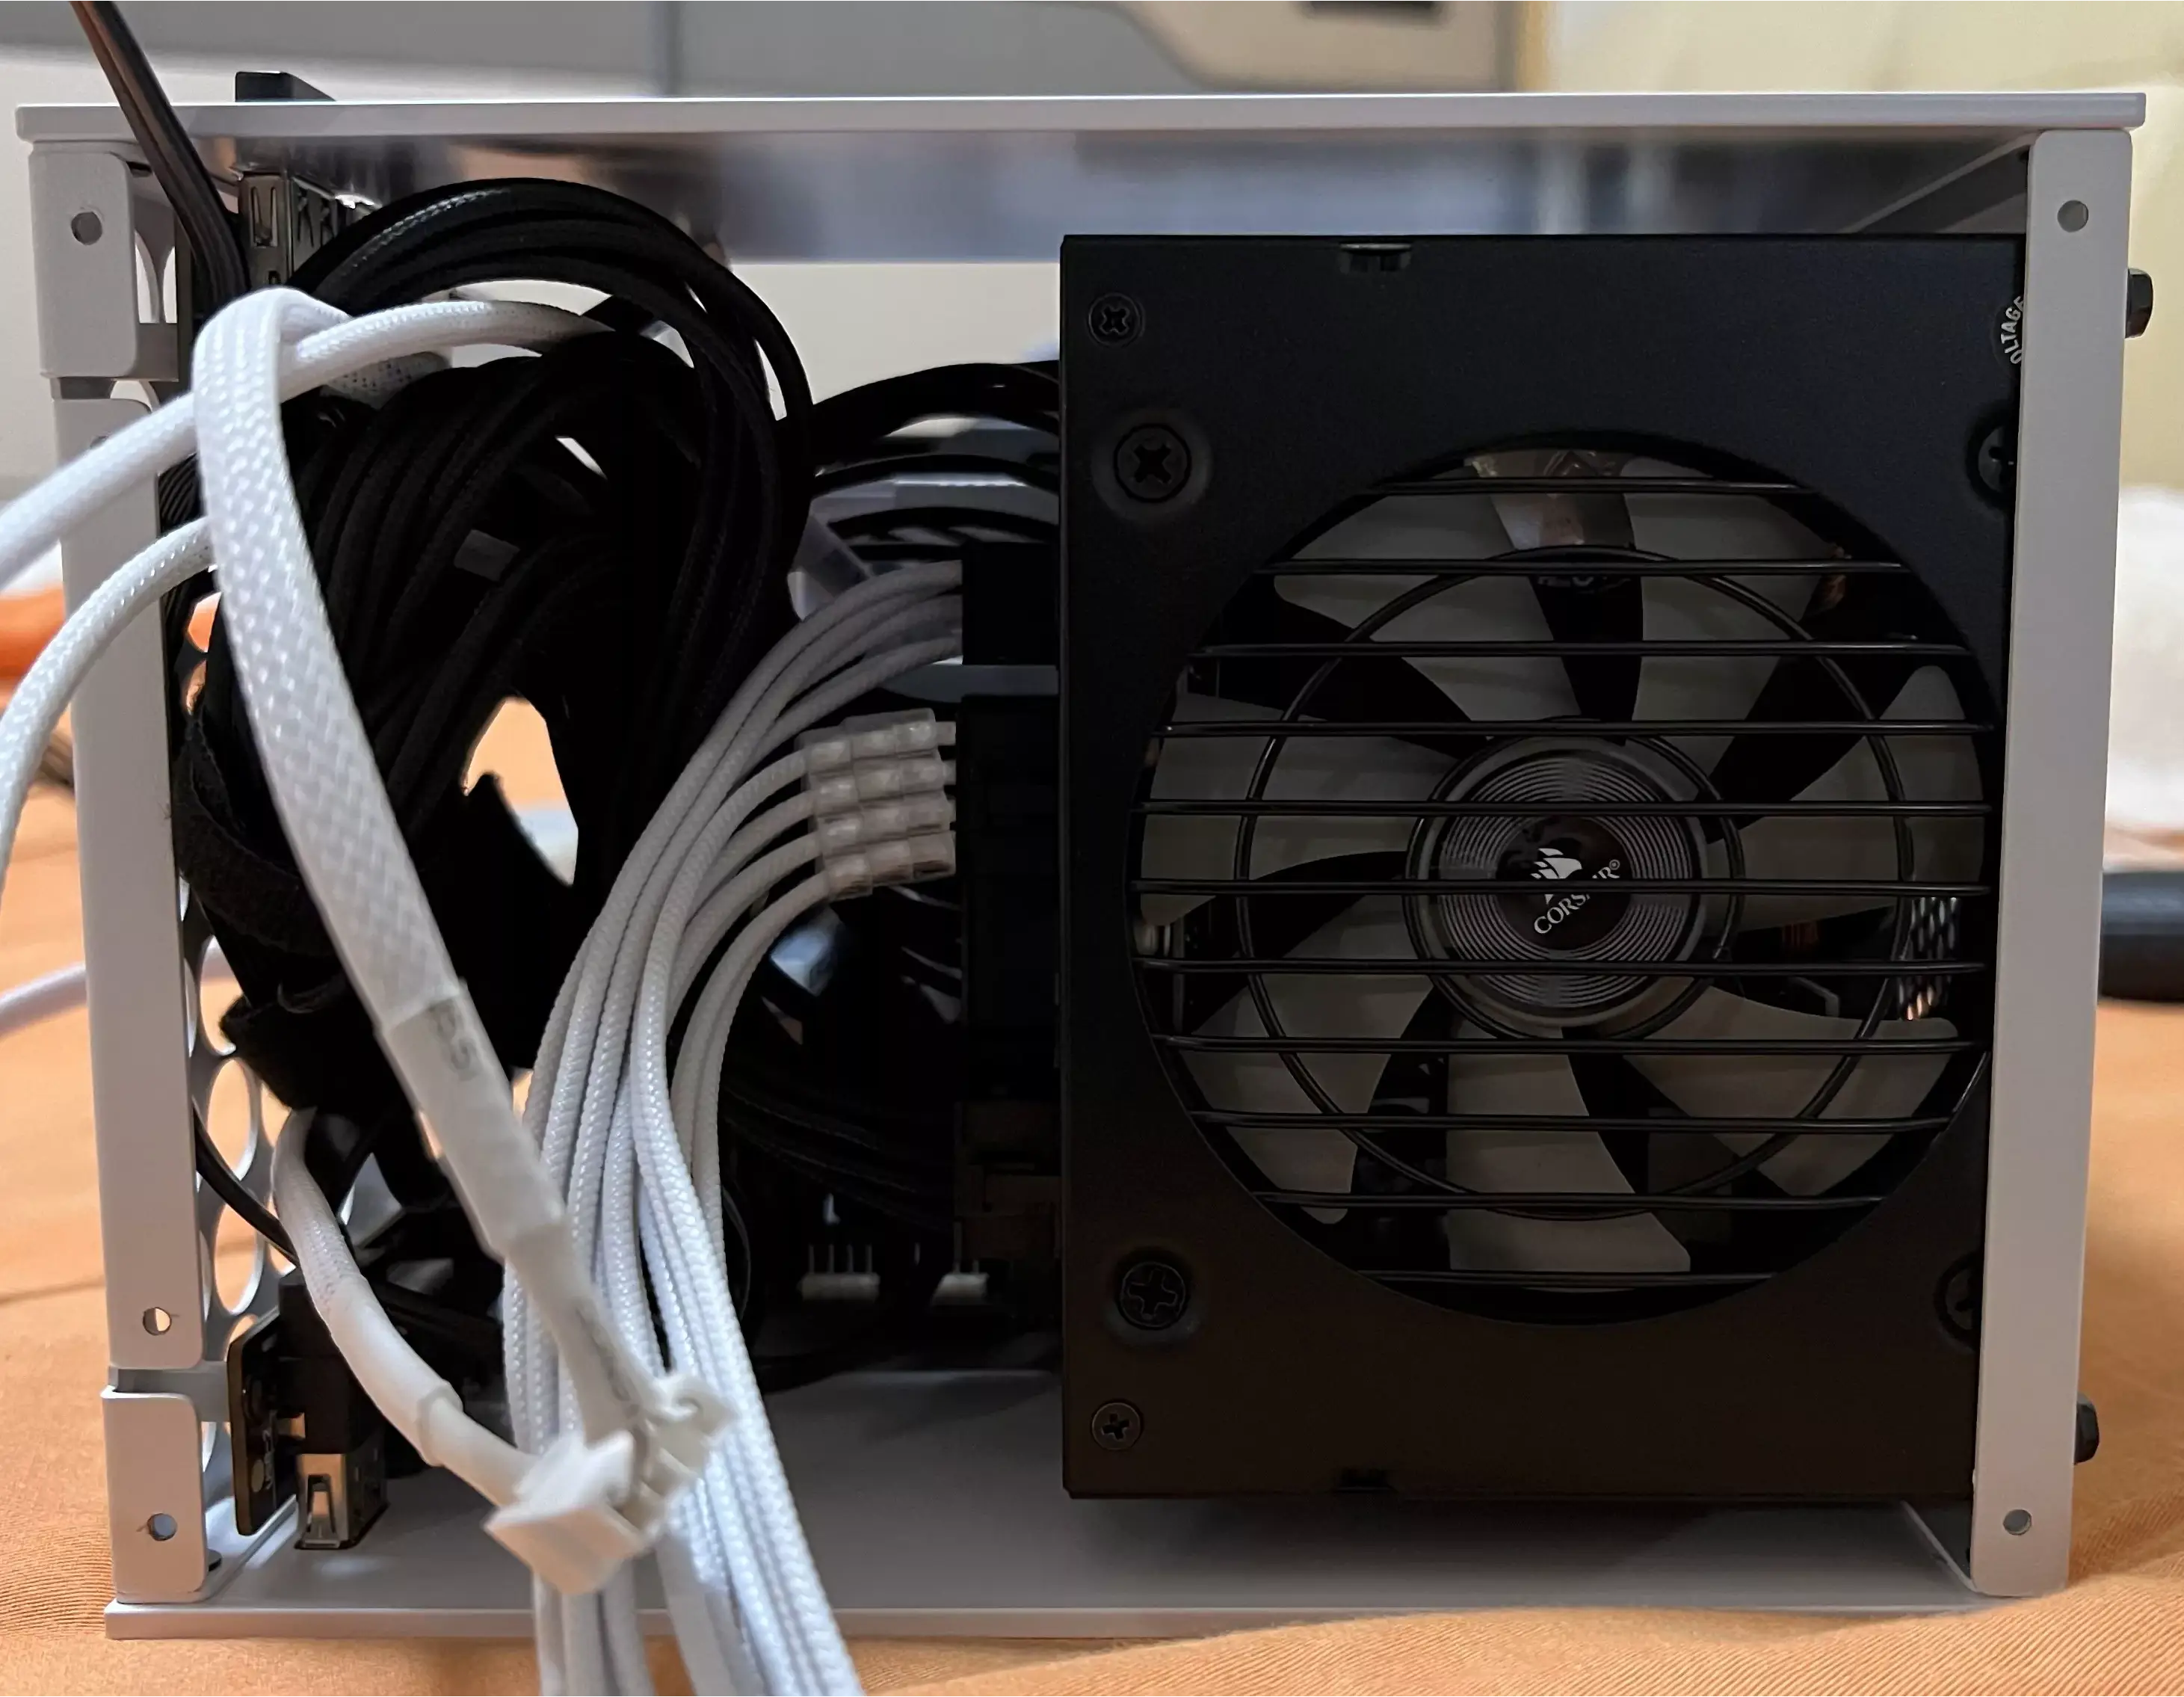
- Only supports SFX and SFX-L power supplies, although cable management with SFX-L power supplies might be challenging.
- The gaps on both sides of the power supply can accommodate two 2.5-inch SATA hard drives, with a thickness not exceeding 7mm.
- The IO interface is very rich, including headphone, microphone, USB 2.0, USB 3.0 Type-A, and Type-C ports.
Structure and Appearance
I chose this case primarily for its structure, as I believe it offers one of the most heat-friendly designs among ITX cases with direct-insertion graphics cards. The pure white box looks great on the desktop. Note in advance that the metal material of the case was determined using a magnet, so it may not be entirely accurate.
- The lower half of the right side of the case is made of aluminum alloy, while the upper half consists of a 3mm-thick square tempered glass panel with approximately 1.8cm-wide white borders around it. The glass has a cool-toned color. The aluminum panel has a depression on the front side resembling a popsicle stick, with the power button, a 10Gbps Type-C port, and two USB 2.0 Type-A ports arranged from top to bottom. There are no power or hard drive indicator lights.
- The left side panel is a single piece of aluminum with no openings or screw holes other than the IO ports. It also features a depression resembling a popsicle stick, with a 5Gbps USB 3.0 Type-A port, microphone input, audio output, and a second 5Gbps USB 3.0 Type-A port arranged from top to bottom.
- The front panel is detachable, with aluminum alloy strips on the left and right sides and an iron perforated mesh panel in the middle. The hole diameter is approximately 0.8mm, and it is relatively dense. The aluminum strips are connected to the iron plate with screws on the back.
- Both the top and bottom panels are made of perforated iron mesh.
- The rear of the case is also made of iron, with a 90-degree bend on the left and right sides. These bends are connected to the aluminum panels on the left and right sides with black screws, which are not visible after assembly. There are no bends near the right side of the graphics card slot, likely for easier installation of the graphics card. The fan openings have a shape similar to a popsicle stick, providing a large ventilation area.
- The power supply is mounted at the bottom, with separate intake and exhaust, eliminating the need to compete for airflow with the CPU.
- One 12cm thick fan is used for intake at the front panel, while two 8cm thick fans are used for exhaust at the rear, creating an excellent horizontal airflow path for CPU cooling. The heat generated by the CPU can be promptly expelled without heating up the graphics card and SSDs.
- The motherboard is inverted, placing the graphics card beautifully at the top of the case, ideal for graphics cards with heatsink fins parallel to the motherboard. When the fans are idle under low load, heat rises directly upward. When under load, the fans start, drawing in cold air from the top and exhausting it from the front and rear panels. The only downside is that the top panel is prone to dust accumulation and requires regular cleaning.
- It can accommodate large downdraft coolers like the SI100, with the 12cm fan able to cool both the front M.2 SSD and the power supply.
- Only the power supply fan is mounted in a suspended position. If the power supply has a feature to automatically stop the fan under low load, there’s less concern about fan bearing issues.
- The main components are arranged vertically, resulting in a small footprint for the case, roughly equivalent to the size of three smartphones placed side by side.


Quality
For a case priced at 499 yuan, the quality of the Rider R2 5.0 is average. After all, it’s just a small-batch production commissioned by individuals from a factory. It seems that only 100 units of the first batch of white cases were made, so it’s definitely not comparable to mass-produced cases from major manufacturers. The designer also mentioned on the product page that there may be flaws in the paint finish.
- The overall paint finish of the case is spray-painted. The paint finish on the aluminum panel is quite smooth, while the paint finish on the iron panel has a texture similar to leather when viewed up close.
- The paint quality is average. There are a few incomplete paint finishes around some screw holes on my case, but once the screws are tightened, they are not visible. Personally, I’m not too concerned about the paint finish since cases will inevitably chip over time with assembly and disassembly. A few dollars spent on a touch-up pen or nail polish can easily fix this issue. I bought a bottle of pure white nail polish to touch up the paint, and the result was satisfactory.
- The aluminum panels on both sides are thick, measuring approximately 3mm in thickness. The edges and mesh of the case are well handled, with no sharp edges, and they feel smooth to the touch. The strength of the iron plates in other areas is also acceptable, but the iron plate at the rear graphics card position is cantilevered without vertical support on the other side, posing a risk of bending during assembly. The iron plate on my case was already bent when I unpacked it, but I managed to bend it back into shape with some force.
- The method of fixing the tempered glass side panel is quite unique. Two iron pieces are glued to the top and bottom edges of the glass, and then connected to the main body through screws on the iron pieces. However, the adhesive is applied near the graphics card, and prolonged heating from the graphics card might cause the adhesive to come off. People with a fear of tempered glass like me are already considering replacing it with an acrylic side panel.


Assembly
First, let’s take a look at my hardware configuration, which I transferred from my old case.
| Hardware | Model | Notes |
|---|---|---|
| CPU | Intel i5 10500 | |
| Motherboard | ASUS ROG Strix B460i | |
| RAM | G.Skill Trident Z RGB 16GB DDR4 3000MHz | Two sticks totaling 32GB |
| GPU | Sapphire RX6500XT 4GB | A decent mid-range card |
| SSD | Samsung SM961 256GB | MLC classic from 2017 |
| Kioxia RC10 512GB | M.2 on the back | |
| Samsung 860EVO 512GB | SATA | |
| Cooler | Thermalright SI-100 White | Only the heatsink, no stock fan |
| PSU | Corsair SF450 Platinum | |
| Case | Rider R2 5.0 White | |
| Fans | TEUCER T30 | Two fans, one for front intake, one for CPU cooling |
| Arctic F8 PWM | Two fans for rear exhaust | |
| Other | Mini Antenna | Replaced the motherboard’s default antenna |
| White Embossed Silicone Custom Cable | One 6+2-pin for GPU, one single SATA | |
| Pure White Nail Polish | Used for touch-up painting |
There are already several assembly videos on Bilibili, so I won’t make a new one. Here are some key points to consider when assembling:
- The space behind the motherboard is very limited, making it impossible to install heatsinks on rear-mounted SSDs. I didn’t notice this during my first assembly attempt and mistakenly installed the SSD with a heatsink. When I tried to screw in the motherboard, I couldn’t align the holes properly, and I thought it was a quality control issue until I realized the SSD heatsink was causing the motherboard to tilt.
- For the front fans, it’s recommended to use a few of the included spacers to raise them. Otherwise, there’s a chance they might interfere with the latch of the motherboard’s power connector. I used the original Corsair cables for my motherboard power, and I had to raise the fans by 3mm to prevent interference with the latch.
- When installing a downdraft cooler, orient the fins to face the front and rear of the case to create a horizontal airflow channel.
- If you’re using a massive downdraft cooler like the Thermalright SI-100, installing it with the heat pipes facing upwards may cause the heat pipes to interfere with the backplate of the graphics card. If your graphics card doesn’t have a metal backplate, it’s advisable to install the cooler in a different orientation. If it does have one, it shouldn’t be an issue, and the cooler can double as a support bracket for the graphics card.
- I highly recommend using custom silicone cables for the GPU power. I initially used the stock PSU cables, and they pressed against the side panel, requiring considerable force to close the side panel. Switching to embossed silicone cables resolved this issue.
Recommended assembly sequence:
- Install the RAM, SSDs, and cooler onto the motherboard. Connect the CPU and motherboard power cables in advance, and remember to remove the protective film from the cooler.
- Secure the motherboard to the case standoffs and plug in the power switch, USB, and audio cables.
- Install the graphics card and plug in the power cables.
- Install the rear exhaust fans.
- Connect the power supply cables on the PSU side, then install the PSU.
- Install the front intake fan, which should be mounted on the included bracket.
- If you have SATA hard drives, install them on the bottom panel and tuck them into the PSU compartment after connecting the cables.


Stress Test
After running a simple stress test with AIDA64 for 11 minutes, I realized I forgot to adjust the fan curve and left it on the default quiet mode. I’m too lazy to redo the test, so let’s just make do with the results. The ambient temperature in my room, which has underfloor heating, was 25 degrees Celsius during the test.
During the test, the CPU package averaged 70 degrees Celsius, the GPU averaged 62 degrees Celsius, and the SM961 SSD averaged 60 degrees Celsius. The average fan speeds were 835 RPM for the front intake and CPU cooler fans (with a maximum of 1800 RPM), and 1105 RPM for the 8cm exhaust fans (with a maximum of 2000 RPM).
Comparing to my previous setup with the C24 case (non-Air version), the JONSBO CR1400EVO tower cooler, and full-speed fan settings, the new case’s fan speeds were only half of the maximum speed. As a result, the CPU temperature averaged about 8 degrees Celsius lower, the RAM temperature dropped by over ten degrees, but the GPU temperature remained similar. The RX6500XT, being a entry-level card, doesn’t generate much heat.


